- AUDIO ONE-TO-ONE Call Now: 210-805-9927
- Contact
- Register
- My Account
EQUIPMENT CLEANING
As you might expect, I've cleaned a few components in my time. Over years, and hundreds and hundreds of components later, I've learned a few things about what works and what doesn't. Having learned a few helpful hints along the way, I would like to pass them along so that you can restore that "showroom shine" to your valued audio gear.
New equipment we sell usually doesn't require any attention (except maybe to clean the connectors). It's the used gear we take on trade (or sell on consignment) that often needs loving attention. I won't accept damaged or abused equipment for resale, but most used equipment comes in with a few years worth of dust, dirt, fingerprints and other "nasties" attached. Not that the equipment has been badly treated mind you, it just needs a bath. We seek to restore the original luster to the equipment before resale.
To keep your equipment looking new, a regular schedule of cleaning is necessary. Just like washing your car to protect the finish, occasional cleaning of your audio equipment is essential if you want to keep it looking its best.
Ever notice how a clean car is more fun to drive? Maybe it's just me, but driving a clean car (especially after a week of rains, when other cars on the road are filthy) is so much more enjoyable than motoring in a "dirt-mobile." I find listening to be a more enjoyable experience after my system has had a thorough cleaning too. All right, maybe it's psychological, but it certainly does look a whole lot better. While this may sound silly to some, in ways that we are about to explore, there is more fact than fiction in that statement.
While putting a shine on the cabinet of your preamplifier may not make the thing sound any better, cleaning a thick layer of dust from the internal components likely will. Both procedures will insure greater life expectancy and higher resale value - an important consideration in today’s world of mega-buck audio. I will add to that, at least for me, a gleaming front panel is certainly preferable to a dingy, fingerprinted one, and may add to the psychological aspects of the musical experience.
We should begin by separating cleaning into three distinct categories: outside, inside and electrical connections. This article will focus on the cleaning procedures used for the internal and external maintenance of audio equipment. Connectors are a story within themselves, and have been addressed separately in our paper entitled "How To Improve Your System For Free, Almost."
The obligatory disclaimer - The following techniques are ones I have used with good results, but that doesn't guarantee your success. As with any product or procedure, be sure to experiment first on a small unseen area.
EXTERIOR -
To better understand what it is that we are cleaning, let's take a look at common materials, finishes and construction techniques found in modem audio gear.
Aluminum seems to be the material of choice for equipment chassis and front panels. This soft, nonferrous metal is easy to machine and suffers from none of the sonic ill-effects often associated with magnetic materials. The metal is bent, stamped or milled into the desired shape, and then drilled to accept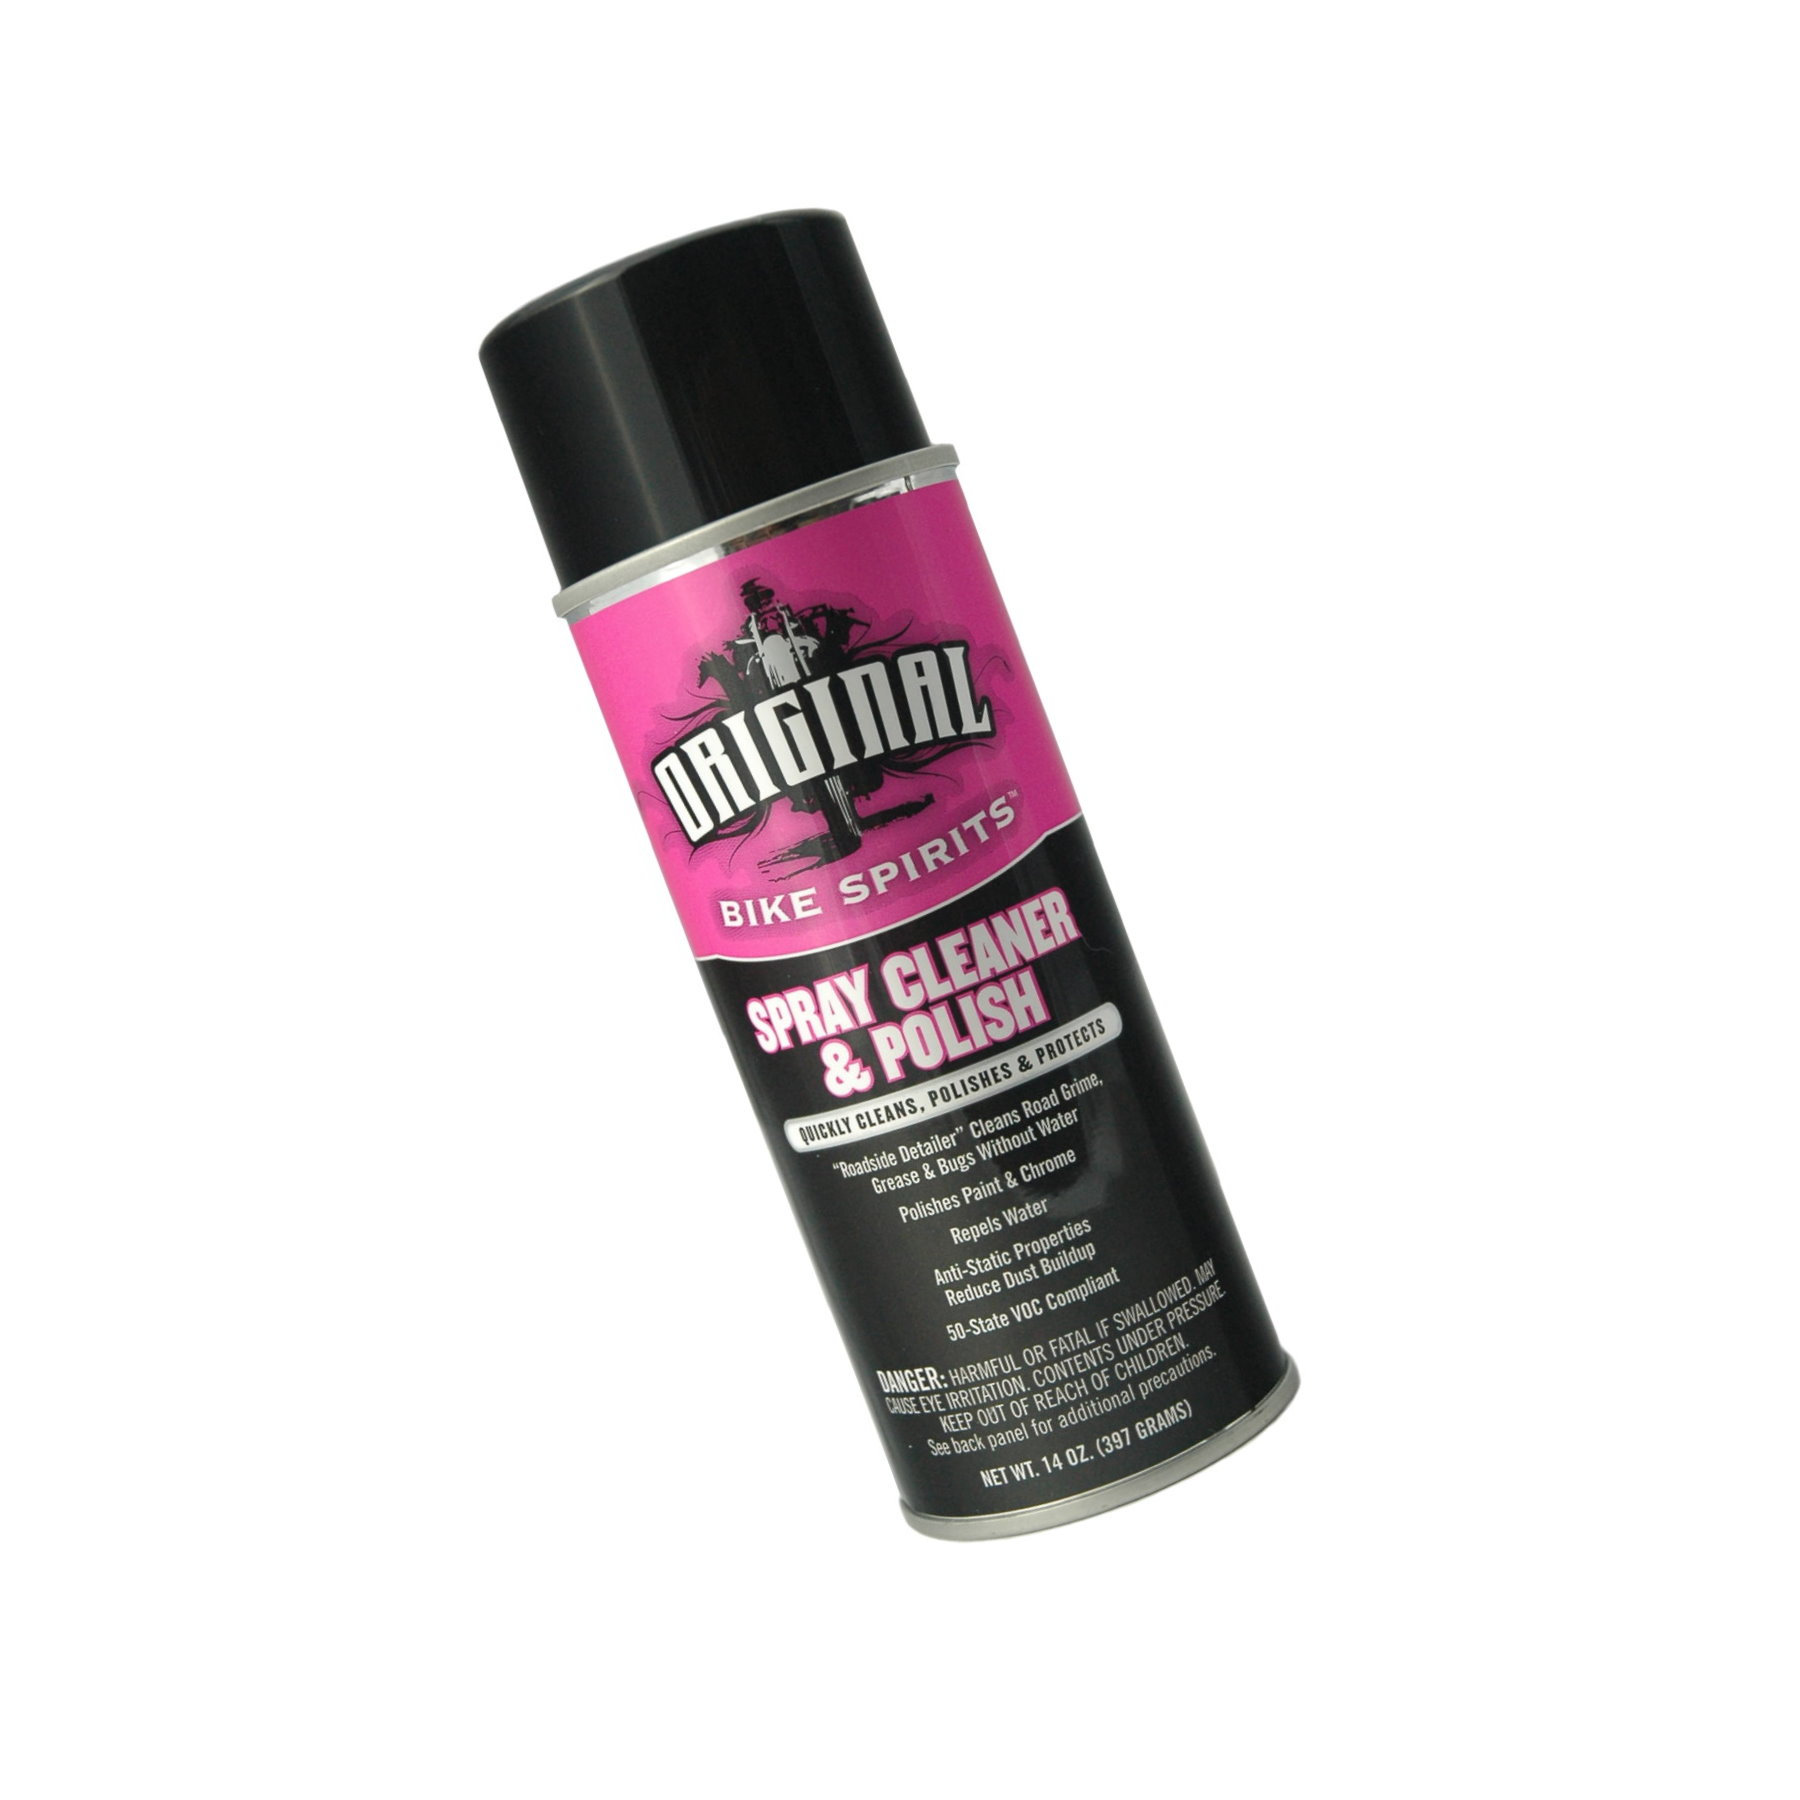 various components and fasteners. Front panels are cut or stamped from aluminum sheets and then brushed or bead-blasted to add the desired surface finish. After the metal has been worked into the proper shape it is then either painted, powder coated or anodized. (Anodization and power coating processes bond a coating to the metal through an electrolytic process).
The exterior of most electronics today are constructed using aluminum that has been anodized. Although a tough finish, anodization is not impervious to wear, and neither is the aluminum itself. The grade of aluminum most commonly used in the construction of audio equipment is relatively soft, and is easily scratched or bent. We need to be careful when using sharp objects (such as screwdrivers) around our equipment. A slip of the wrist could cause permanent, expensive damage.
Since the anodizing process is expensive and somewhat unpredictable, some manufacturers have opted to paint their equipment to obtain the desired finish. A painted finish too can be quite fragile and must be treated with care equal to (or greater) than that given to anodized finishes. A powder coated finish is essentially a very tough paint and though more durable than most painted finishes, should still be treated with care.
On to specifics. Ordinary dusting can be accomplished with a wool or feather duster, a dry, lint-less cloth or your best choice, a good quality micro fiber towel. This method can be used to clean all smooth surfaces, but dusting front-panels covered with knobs requires a different strategy. A trick I discovered many years ago involves the use of a paint brush. Buy a good quality, soft bristled brush (1" or 2" width is fine) that you will use only for this purpose. A brush works very well in those tight recesses of front and rear-panels, as well as heat sink fins. A vacuum cleaner is a good option and works extremely well. Just make sure that you have a very soft brush on your cleaning attachment (most do not) to avoid scratching the finish. Compressed air is effective as well, but take the component outside first so your not just moving the dust from one area to another.
If the surface is heavily soiled (from fingerprints or air-borne contaminants such as smoke), a cleaning solution will be required. We've got several favorites here. Our number one is Original Spray Cleaner & Polish, which cleans polishes and protects painted, anodized and chrome plated finishes and works well on acrylic. This product was originally marketed by Honda as a general purpose cleaner and detailer for painted and chromed surfaces on motorcycles. Honda discontinued it, but the same formula is back under a different name. Original Spray Cleaner & Polish doesn’t streak and is easily buffed to a fine sheen. As an added benefit, it reduces static buildup. We use it here on a regular basis for face plates, chassis and dust covers. It will refresh tired finishes on metal, adding luster and depth. A light spray followed by a good buffing with a clean cotton towel (or microfiber cloth) can pay big dividends. Highly recommended.
A common household cleaner, Windex is not recommended by most manufacturers for cleaning anodized surfaces as it contains ammonia.
If you can find it, Miller Stephenson "Cleaner for Plastic-Glass-Metal," part number MS-260.3, is a good choice. This aerosol sprays on in a fine, foamy mist. It cuts through grease (from fingerprints), smoke deposits and dust with ease. It is virtually streak-less on acrylic and glass, and is very fast drying, leaving no apparent residue. Works well on chrome too.
We also like two products from Sommer & Maca Industries. Their Sommertyme Plastic Cleaner (stock #337-9000) does a great job on many surfaces (contains no ammonia) and the HiiSheen Glass Cleaner is particularly good on glass. Recently I tried Endust for Electronics and was pleasantly surprised by its abilities. It also eliminates static, an added benefit. This should be available in the local grocery store.
Acrylic presents special challenges. Turntable dust-covers, or any other acrylic, must be cleaned very carefully to avoid scratches. A good quality micro fiber cloth works best. Alternates include a damp cotton cloth (never use paper towels), used with a very light touch, or a Lamb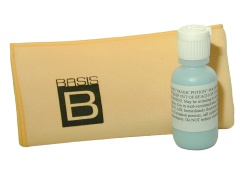 s wool duster is good for removing large accumulations of dust. A vacuum works well too, assuming you have a nozzle with a VERY soft brush.
For removing fingerprints, or anything other than dust, I've had excellent results with Sommertyme Plastic Cleaner mentioned above. Windex works fairly well too. The key is to use a soft, clean cloth or micro fiber towel that will not scratch the plastic.
If you need to remove scratches from acrylic, the best product I've ever used comes from the turntable manufacturer, Basis Audio. The company has had a tremendous amount of experience in mirror finishing acrylic and have come up with an excellent product in their Magic Potion and companion Polishing Cloth. In second place is 3M Imperial Hand Glaze followed with their Liquid Polish. Both are available at automotive paint supply. I've not had great success with the more popular Novus products that can be found in most home centers. Whichever product you use, expect to invest a fair amount of time and elbow grease, especially on more significant scratches.
Although wood is not as common a material in audio equipment as it once was, you likely have wood veneer on your speakers and possible your equipment stand. Most wood finishes today have been sealed, requiring no additional care other than dusting. Hand rubbed finishes however do need attention. An occasional application of oil, appropriate for the specific type of wood, will add luster and essential moisture, increasing the life-span and enhancing the grain and depth.
INTERIOR -
IMPORTANT NOTE!
Before attempting to clean the interior of any component, be certain that the unit has been unplugged from the wall for at least 24 hours! The large power supplies in today’s electronics can store prodigious amounts of energy for long periods of time. These supplies must be allowed to discharge before removing the cover. It is best to avoid contact with the large filter capacitors (especially in amplifiers) to reduce the risk of electrical shock. Additionally, there are many sharp edges inside most components. Be careful not to cut yourself. - Proceed at your own risk -
Even in clean households, dust will build-up on the outside and inside all components. Most of us never think to clean the interior of these units. However, keeping the interior of your electronics free from dust and dirt is far more important than cleaning the outside. A thick coating of dust may interfere with the ability of a transistor, tube or other part to effectively cool itself. All component parts are designed with a specific operating temperature in mind, if this temperature is constantly exceeded, optimum performance maybe compromised and life-span reduced.
If you own a fan-cooled amplifier or preamplifier, regular internal cleaning is absolutely mandatory. Forced-air cooling insures a steady stream of household dust is brought in along with the cool air. The dust will not only cover the inside of the component, but if left unattended, may even begin to clog the fan itself, reducing airflow.
Cleaning the interior of electronics presents an altogether different set of problems and approaches. Here, we are concerned more with practical aspects of removing debris, rather than the cosmetics of polish and shine. We focus on removing dust from the myriad nooks and crannies in between component parts, circuit boards and wires.
Due to the sensitive nature of many individual components inside today's electronics, aggressive cleaning techniques are not recommended. The best way to clean the interior cleaning is with compressed air. A compressor is ideal, if you have one, just be sure not to use too much pressure. If you do not have a compressor I suggest a trip you local electronics or camera store for a can of compressed air. Be sure to look for the brands that contain no CFC's. If you can find it, Miller-Stephenson "Aero-Duster" (part number MS-222) offers greater pressure than others I've used. If it's not readily available, any brand will do.
Note: If your equipment is several years old, and has never been cleaned, there is likely to be a good bit of dust inside. Therefore I would recommend that you move the equipment outdoors, to the garage, or to a location where a "cloud" of dust will not present a problem. Additionally, if you are allergic or sensitive to dust, it would be a good idea to don a protective mask before proceeding.
The compressed air should be directed to all parts of chassis and circuit boards, removing as much dust as possible. Pay particular attention to the output transistors and heat sinks of solid-state power amplifiers. A layer of dust on these output devices can significantly reduce their ability to dissipate heat, leading to overheating or premature failure. Many of the new heat-sink designs utilize a very complex mechanical architecture. Dust particularly likes the myriad small nooks and crannies provided by these shapes, be sure to clean them thoroughly.
If you are cleaning a tube unit, now would be the time to remove the tubes. Carefully clean each tube bottle with a cloth. Be forewarned that the labeling or writing on some tubes is easily removed, you may want to use only a dry cloth unless the tube is very dirty. The tube pins should also be thoroughly cleaned using 99% alcohol. Put the tubes aside until you are finished cleaning the interior of the unit (mark them so you know which socket they go back to).
If the unit particularly dusty, I would recommend that you first cover any open pots or tube sockets to prevent additional contaminants from entering these sensitive areas. A few minutes of preparation here will save you a great deal of time later. Simple masking tape works well for this, simply affix a small piece over any openings in these parts.
Layers of dust that have mixed with other contaminants are liable to form a somewhat sticky substance that looks like dust, but is far more difficult to remove. If your unit exhibits this "ugly dust," I would recommend that you use a clean, dry paint brush first, to loosen the stubborn deposits. A jet of compressed air should then dislodge them.
In some very difficult situations, a non-conductive electronics cleaner may be necessary to remove stubborn sediments. A jet of spray should be directed at the deposits to wash them away. Try to direct the spray only to the "diseased" areas, avoiding metalwork. Some of these materials may also be used to clean potentiometers, switches and other contacts as well. If you have a noisy pot (and it is of the open variety), you may want to take this opportunity to give it a quick spray to clean the internal contacts.
After removing the dust from inside the component, I would recommend a thorough cleaning of tube sockets, input/output connectors and any other easily accessed electrical connections with 99% alcohol. With the cover of the unit already removed, easy access is provided to these internal contacts. Rear-panel RCA or XLR connectors should also be cleaned at this time.
As a rule of thumb, a once a year cleaning should be adequate for most of us. Those living in particularly dusty areas of the Country should attend to the interior maintenance of the components on a more frequent basis.
And there you have it. After having followed the routine outlined above, you should have a great-looking, superior-sounding set of audio components, ready to enjoy!
Customer Comments:
“Many thanks for your fine article on cleaning audio equipment!!! I cleaned all my audio components today (about 12 components) with this product and I am amazed at how easily it thoroughly cleans, not only the cases but the stubborn displays. This is serious stuff that all audiophiles need to use. Thanks again for you great advice.” – D.H.
For specific detail on cleaning electrical connections, see our article How To Improve Your System For Free (Almost!)