- AUDIO ONE-TO-ONE Call Now: 210-805-9927
- Contact
- Register
- My Account
- About
- Tips & Tricks
- Products
- Amplifier - Integrated
- Amplifier, Preamplifier - Solid State
- Amplifier, Preamplifier - Tube
- Analog - Accessories
- Analog - Phono Cartridges
- Analog - Phono Preamplifiers
- Analog - Record Care
- Analog - Turntables, Tonearms
- Cables - Digital, Video
- Cables - Interconnects
- Cables - Speaker
- Computer Audio
- Digital - CD and SACD Players and CD Transports
- Digital - Digital to Analog Converters
- Digital - Music Servers
- Headphone Amplifiers
- Home Theater
- Isolation and Resonance Control
- Portable Audio
- Power Cords
- Power Line Conditioning
- Racks, Stands
- Speakers
- Subwoofers
- System Enhancements, Tuning and Maintenance
- Vacuum Tubes
- Featured Product
- GCA Steals
- New Arrivals
- Our Line List
- Steals
- Sound Bites
- AUDIO ONE-TO-ONE Call Now: 210-805-9927
- Contact
- Register
- My Account
-
“Sound will be the medicine of the future”
~ Edgar Cayce -
“Love, Faith, Peace. Hope, Christ”
~ Edgar Cayce -
“Unless You're Music, I Don't Want To Listen To You In The Morning”
~ Anonymous -
“Music isn't just something to be consumed, it was meant to be shared”
~ Sarah Norman -
“"As engineers and producers we used to capture performances now we create them."”
~ Ron Nevinson -
“I’ve found that no matter what life throws at me, music softens the blow”
~ Bryce Anderson -
“Music is the universal language of mankind”
~ Henry Wadsworth Longfellow -
“Life Is So Much Better, When You Can Hear All the Colors”
~ Brian Jackson - composer, flutist and pianist -
“You can enter the soul through the ear”
~ Ida Riegels - Cellist, Composer -
“Music Is The Language of the Spirit. It Opens the Secret of Life Bringing Peace, Abolishing Strife”
~ Kahlil Gibran -
“Music Finds Its Way Where The Rays Of The Sun Cannot Penetrate”
~ Kierkergaard -
“Where Words Fail, Music Speaks”
~ Hans Christian Andersen -
“Music Lives Within”
~ Julien Lennon -
“The world is in a shitty place and music is a lifting force. It makes things better.”
~ David Crosby -
“Music brings back the feeling of life when nothing else can”
~ Dr. Oliver Sacks -
“Music washes away from the soul the dust of everyday life”
~ Berthold Auerbach -
“It’s not the notes you play; it’s the notes you don’t play.”
~ Miles Davis -
“Music Can Cure Things Medication Never Will”
~ Anonymous -
“In all things audio, the ear is the final arbiter.”
~ Harry F. Olson - Engineer, RCA Corp. -
“You can play a shoestring if you are sincere.”
~ John Coltrane -
“It's taken all my life to learn what not to play.”
~ Dizzy Gillespie -
“I always wanted to be a drummer, but I didn't have any drums.”
~ Stevie Ray Vaughn -
“Where words fail, music speaks.”
~ Hans Christen Andersen -
“Music is the space between the notes.”
~ Claude Debussy -
“Music is probably the only real magic I have encountered in my life.”
~ Tom Petty -
“Music Is Life. That's Why Our Heart Has Beats.”
~ Unknown -
“Music gives a soul to the universe, wings to the mind and life to everything”
~ Unknown -
“Music is the heart of life.”
~ Franz Liszt -
“I worry that the person who thought up Muzak may be thinking up something else.”
~ Lily Tomlin -
“Opera is where a guy gets stabbed in the back, and instead of dying, he sings.”
~ Robert Benchley -
“If in the after life there is not music, we will have to import it.”
~ Doménico Cieri Estrada -
“Life is a song. Love is the music.”
~ Author Unknown -
“Words make you think. Music makes you feel. A song makes you feel a thought.”
~ E.Y. Harburg -
“Music produces a kind of pleasure which human nature cannot do without”
~ Confucius -
“All the good music has already been written by people with wigs and stuff.”
~ Frank Zappa -
“Music is a safe kind of high.”
~ Jimi Hendrix -
“For me, music and life are all about style”
~ Miles Davis -
“There is two kinds of music, the good, and the bad. I play the good kind.”
~ Louis Armstrong -
“... music is not a luxury, but a necessity.”
~ Oliver Sacks -
“Music is the shorthand of emotion.”
~ Leo Tolstoy -
“Life seems to go on without effort when I am filled with music.”
~ George Eliot -
“Music can change the world because it can change people.”
~ Bono -
“Music produces a kind of pleasure which human nature cannot do without.”
~ Confucius -
“Music is the language of the spirit. It opens the secret of life bringing peace, abolishing strife.”
~ Kahlil Gibran -
“The music is not in the notes, but in the silence between.”
~ Wolfgang Amadeus Mozart -
“Music is ... A higher revelation than all Wisdom & Philosophy.”
~ Ludwig van Beethhoven -
“The only escape from the miseries of life are music and cats...”
~ Albert Schweitzer -
“My first wife said, 'It's either that guitar or me,' -- I give you three guesses which went.”
~ Jeff Beck -
“Music heard so deeply that it is not heard at all, but you are the music while the music lasts.”
~ T.S. Elliot -
“What's wrong with vinyl, I think it sounds great, LPs, 45s and 78s, I'm an analog man.”
~ Joe Walsh -
“Music is... A higher revelation than all wisdom & philosophy.”
~ Ludwig van Beethoven -
“Music is well said to be the speech of angels.”
~ Thomas Carlyle -
“Where words leave off, music begins.”
~ Heinrich Heine -
“I haven't understood a bar of music in my life, but I have felt it.”
~ Igor Stavinsky -
“...my music isn't just music - it's medicine.”
~ Kanye West -
“I've found that no matter what life throws at me, music softens the blow”
~ Bryce W. Anderson -
“Without music life would B flat”
~ Dulcinea Martinez -
“Some people have lives; some people have music.”
~ John Green -
“The only truth is music.”
~ Jack Kerouac -
“Music is the wine that fills the cup of silence.”
~ Robert Fripp -
“Without music, life is a journey through a desert.”
~ Pat Conroy -
“Without music, life would be a mistake.”
~ Friedrich Nietzche -
“After silence, that which comes nearest to expressing the inexpressible is music.”
~ Aldous Huxley -
“Music is the universal language of mankind.”
~ Henry Wadsworth Longfellow
- Amplifier - Integrated
- Amplifier, Preamplifier - Solid State
- Amplifier, Preamplifier - Tube
- Analog - Accessories
- Analog - Phono Cartridges
- Analog - Phono Preamplifiers
- Analog - Record Care
- Analog - Turntables, Tonearms
- Cables - Digital, Video
- Cables - Interconnects
- Cables - Speaker
- Computer Audio
- Digital - CD and SACD Players and CD Transports
- Digital - Digital to Analog Converters
- Digital - Music Servers
- Headphone Amplifiers
- Home Theater
- Isolation and Resonance Control
- Portable Audio
- Power Cords
- Power Line Conditioning
- Racks, Stands
- Speakers
- Subwoofers
- System Enhancements, Tuning and Maintenance
- Vacuum Tubes
Latest Tips & Tricks
Loudspeaker Impedance – A Designer’s View by Phil Jones
World-reknowned speaker designer, Phil Jones published an interesting paper on loudspeaker impedance. It's a technical, deep dive into the subject but highlights the difficulty in putting faith published speaker specifications for nominal impredance.
SYSTEM NOISE
What's that sound?
The Microscopic World of Analog
The Microscopic World of Analog
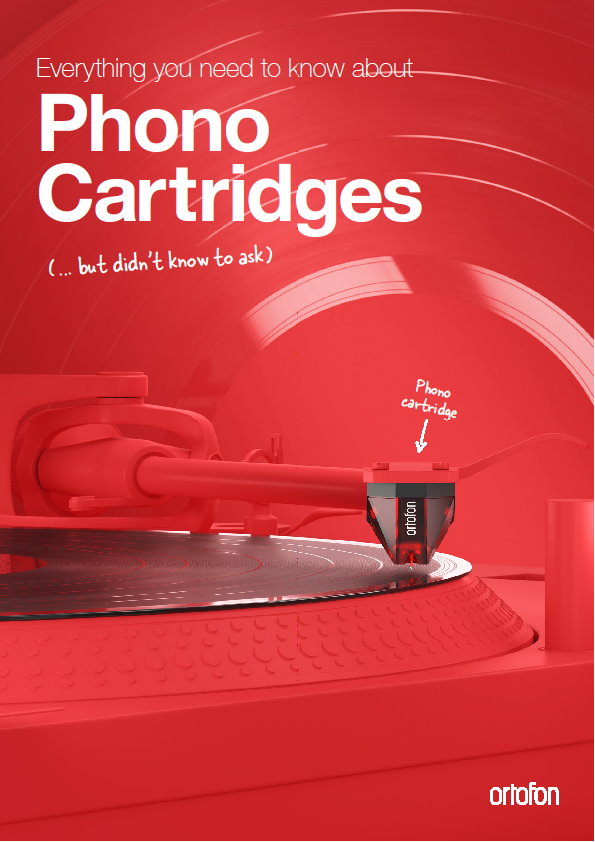
Everything you need to know about Phono Cartridges - By Ortofon
Everything you need to know about Phono Cartridges - By Ortofon
Speaker Set-Up - The Sumiko Method
There are many different set-up regimens out there. I have have heard good results from most of them - if the process is carefully implemented. The one, devised by Jon Hunter (then at Sumiko), relies more on "tuning-by-ear" than some of the more rote methods which adhere to formulae and measurements.
Page of 12 
- Filter by Topics
- Analog Corner
- Audio IQ
- New Technology
- Tuning Tips
- Maintenance